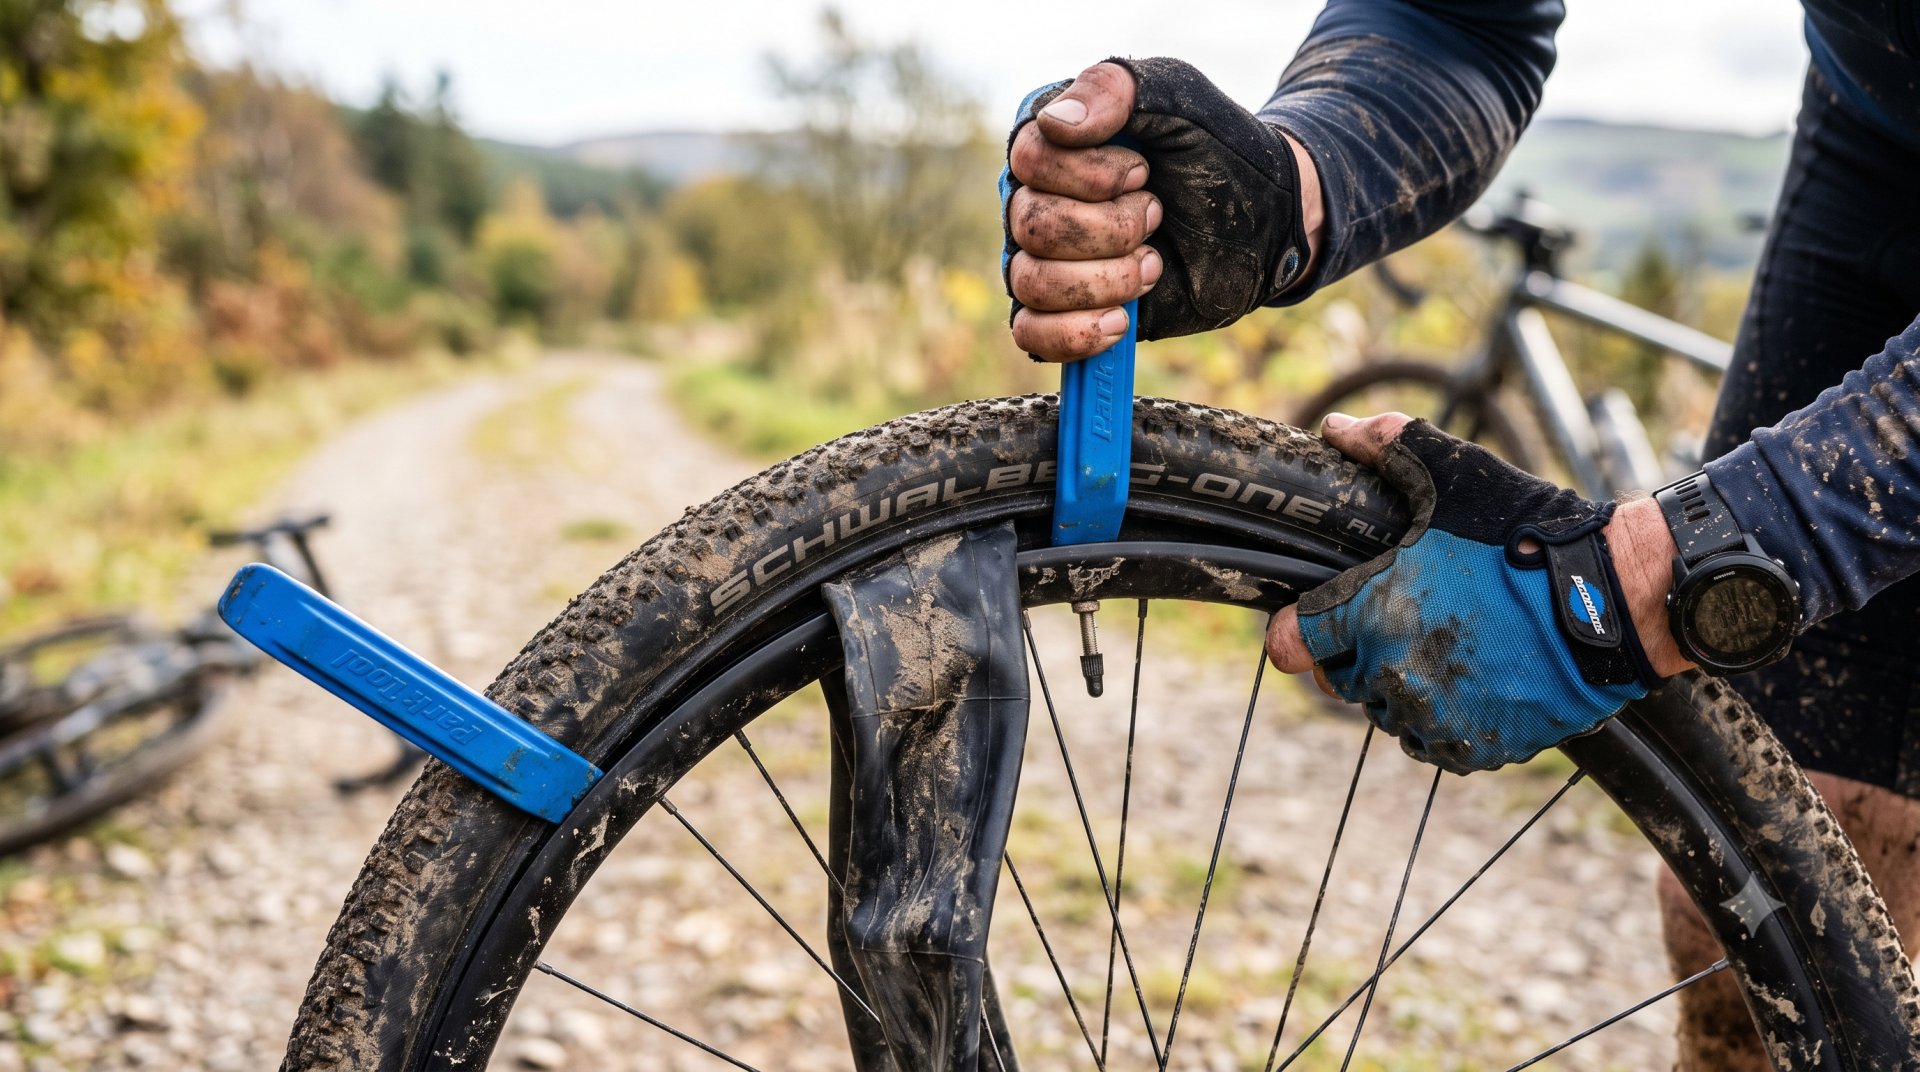
A puncture always stops you at the worst possible moment – far from home and from a bike shop. The good news is that changing an inner tube is easy and you can do it in a few minutes at the roadside. We'll show you the whole process so that you don't get another puncture just round the next corner.
What you need to carry
This guide won't help you without tools – so take these things on every longer ride:
- A spare inner tube (the right size for your wheel and valve).
- Tyre levers – ideally two.
- A pump or CO2 cartridge with an adapter for your valve.
- A multi-tool, if you don't have quick-release wheels.
- Optional: a tube patch kit, in case you puncture more than once.
For a tubeless system, also add repair plugs (sealant strips) for larger holes – more on that below.
Repairing with an inner tube – step by step
1. Stop safely and put the bike down
Get off the road to a safe place. Lay the bike on its side with the gears facing up so you don't damage the derailleur.
2. Remove the wheel
Release the quick-release or axle. With rim brakes, release the brake first so the tyre can pass between the pads. For the rear wheel, shift the chain onto the smallest sprocket – it makes the wheel easier to remove and refit.
3. Let out the remaining air and remove the tyre
Let all the air out. Use a tyre lever to lift the edge of the tyre over the rim, then move a second lever around the rim until one side of the tyre is off.
4. Remove the tube
Pull the tube out from under the tyre and push the valve back through the hole in the rim.
5. THE MOST IMPORTANT STEP: find the cause
Most people skip this – and puncture again a hundred metres later. Carefully run your fingers around the whole inside of the tyre and feel whether a thorn, glass or a bit of wire is still stuck in it. Check the rim tape too. If you don't find and remove the cause, the new tube will last just a few metres.
Be careful when feeling the inside of the tyre – do it gently, as a sharp object can cut your finger too.
6. Insert the new tube
Put a little air into the tube (it takes shape and is easier to fit). First push the valve through the hole in the rim, then gradually tuck the tube under the tyre all the way round.
7. Put the tyre back on
Push the edge of the tyre back into the rim – gradually, with your thumbs. The last section is usually the hardest; push the tyre bead into the centre of the rim, where there's more room. Better not to use tyre levers at the end – it's easy to pinch the tube and get another puncture.
8. Check and inflate
Before inflating, go round the wheel and check that the tube isn't poking out from under the tyre anywhere (otherwise you'll burst it while inflating). Then inflate to the right pressure – you'll find how much in our guide to tyre pressure.
9. Refit the wheel
Put the wheel back on, tighten the axle/quick-release and put the brake back in position. Check that the wheel spins freely and the brake works.
No spare tube? A patch
If you've run out of spare tubes, a patch kit will help:
- Find the hole (inflate the tube slightly and listen/feel for escaping air, or dip it in water if available).
- Roughen the area with the supplied sandpaper.
- Apply a thin layer of glue and let it dry for a few minutes.
- Press the patch on and hold it firmly.
- Wait until the bond "takes" before refitting.
A patch is an emergency fix to get you home – replace the tube when you get back.
Tubeless: a little different
A tubeless system has the advantage that the sealant inside seals smaller holes by itself and you won't even notice the puncture. With a larger hole:
- Use a repair plug – insert it with the tool directly into the hole from the outside and cut off the excess. It holds surprisingly well.
- If the hole is too big, put a regular inner tube into the tyre as an emergency solution and carry on home.
Common mistakes
Not finding the cause of the puncture. Number one. Without removing the thorn, you'll puncture again immediately.
Pinching the tube with a tyre lever. Fit the last section of the tyre by hand, not with a lever.
Not inflating enough. Too low a pressure after the repair = a risk of another puncture against the rim. Pump it up properly.
Leaving the spare tube at home. The best guide is useless without tools in your bag.
Summary: let out the air, remove the tyre, take out the tube – and above all find and remove the cause, otherwise you'll puncture again. Insert a new tube, fit the tyre by hand (not with a lever), check the tube isn't poking out and inflate properly. With tubeless, the sealant often seals the hole; plug a larger hole. And remember – without a spare tube, tyre levers and a pump in your bag, there's nothing you can do.