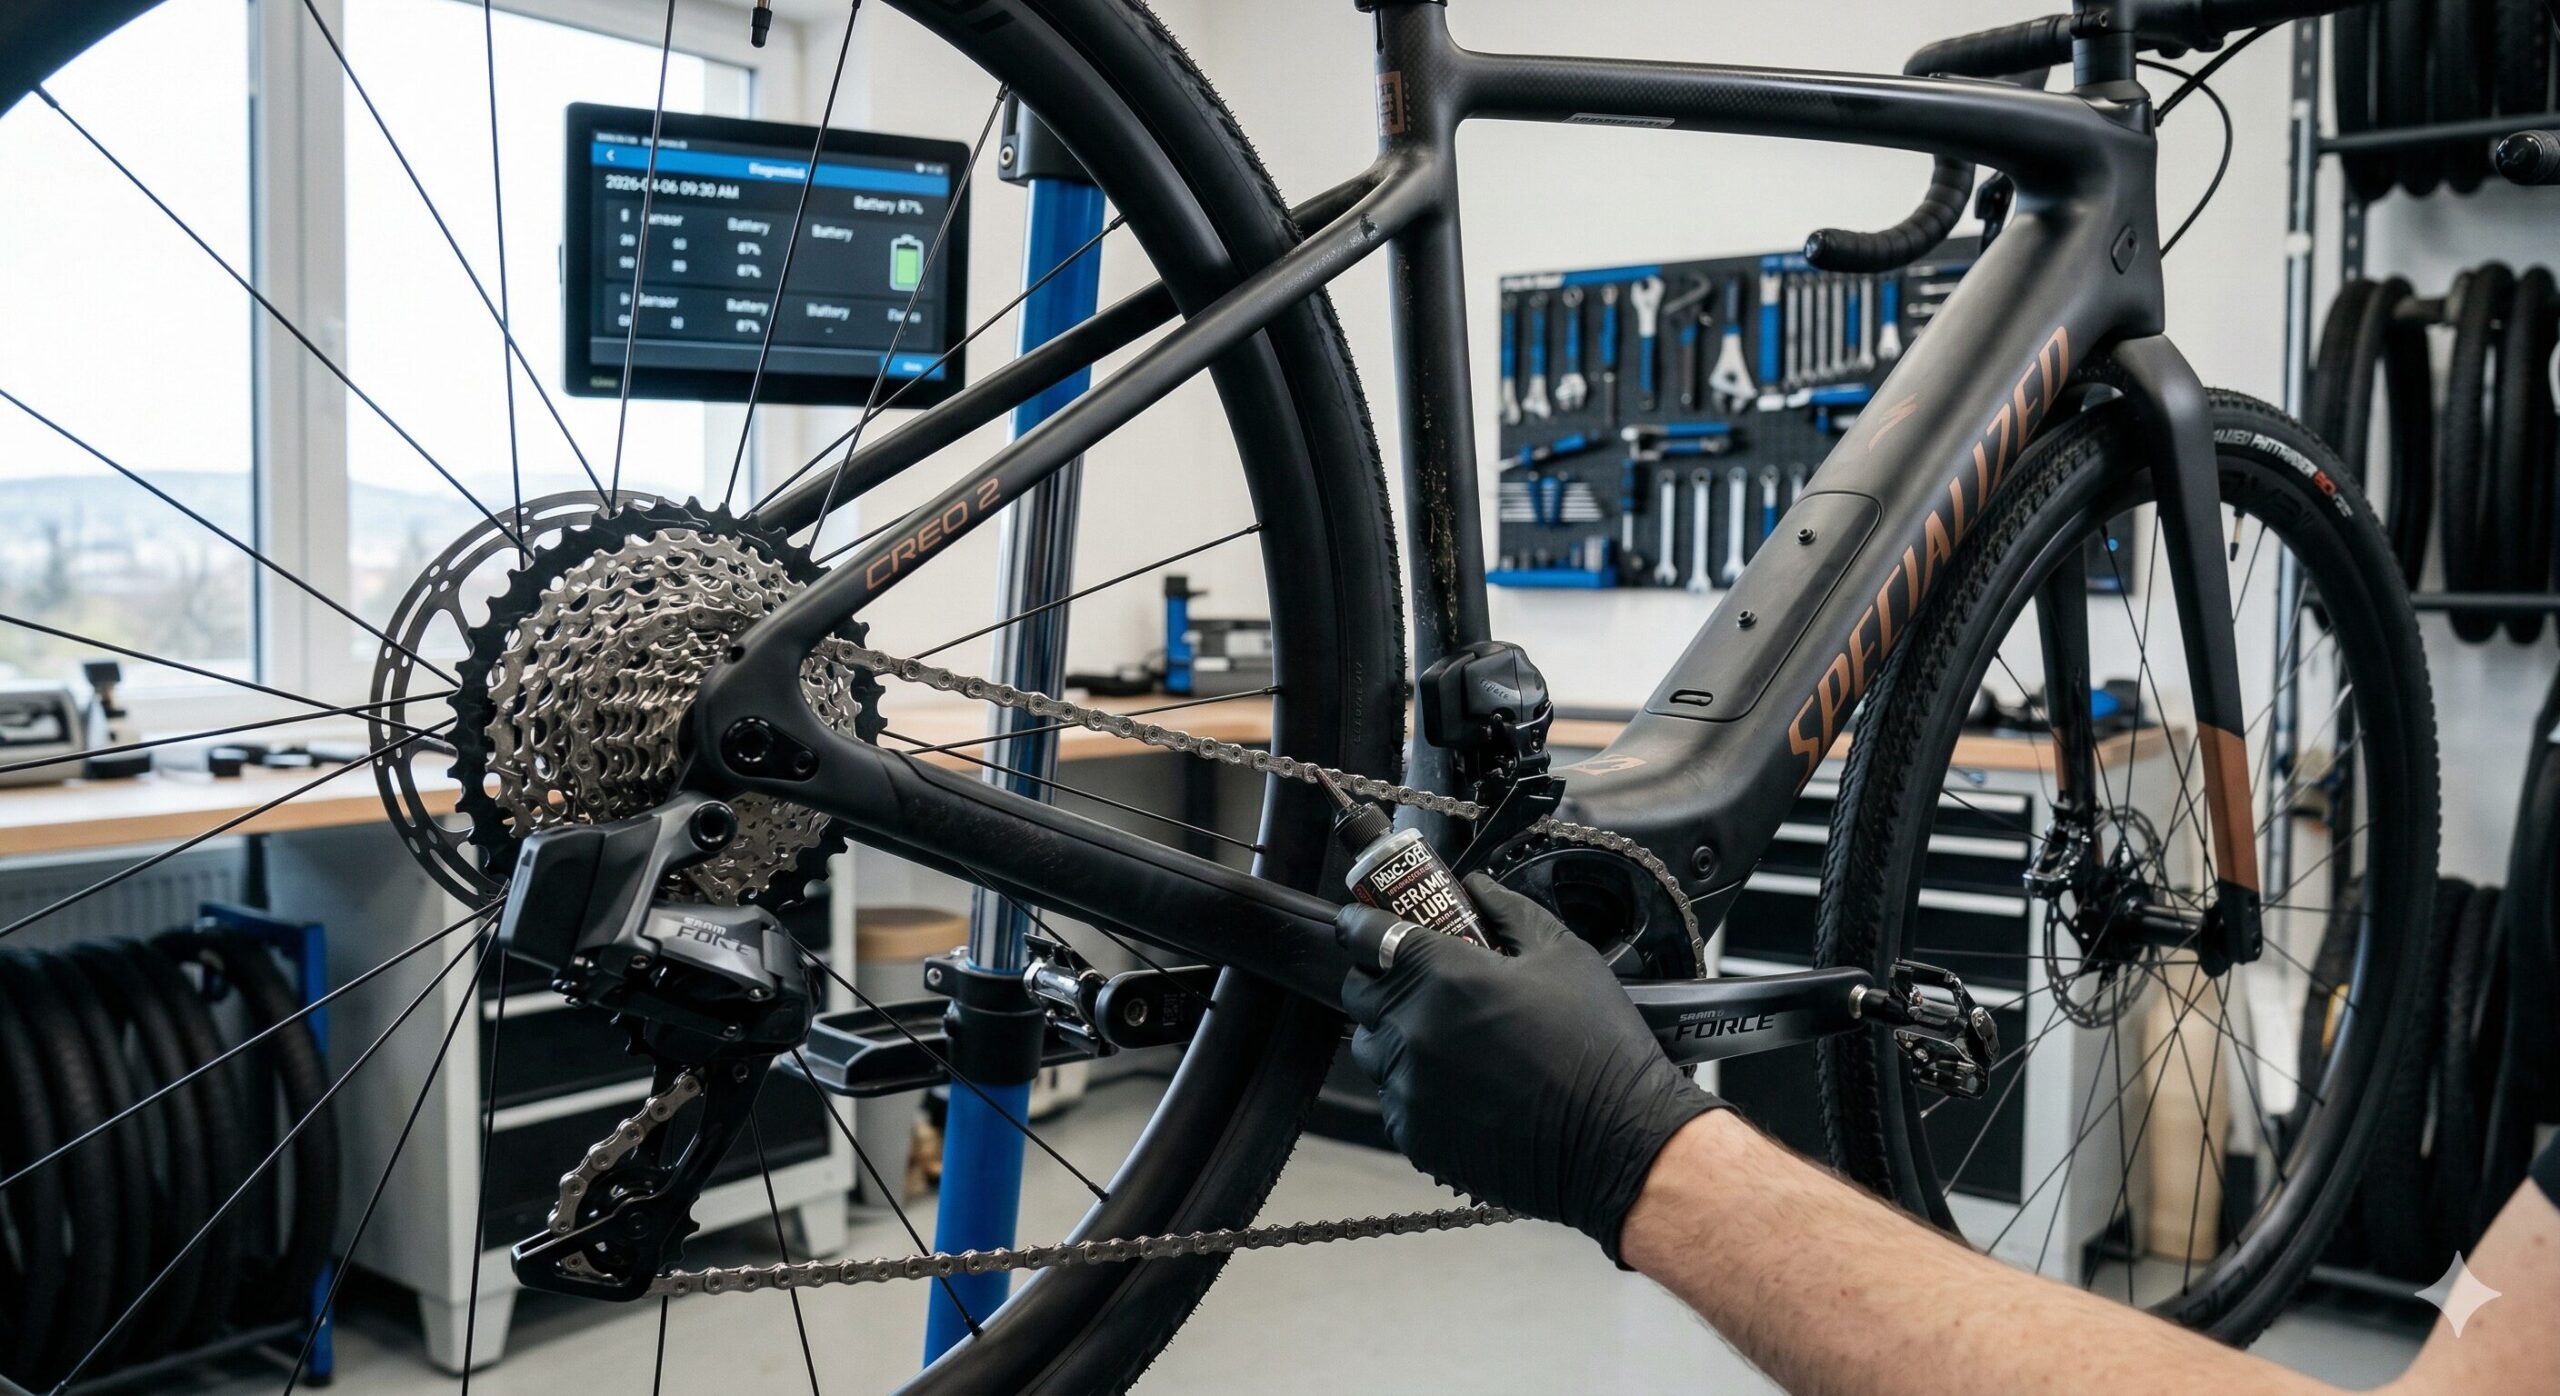
The first spring sunshine is here, and with it comes the urge to get your bike out of the cellar, garage or balcony. After long months of hibernation, though, your two-wheeled steed needs a little love before you take it on its first longer ride.
Why is a spring service so important? It isn't just about making the bike shine. Neglected maintenance leads to premature wear of expensive components (such as the cassette or chainrings), imprecise shifting and, in the worst case, dangerous situations caused by brake failure. In this comprehensive guide we look at how to turn your bike into a machine ready for the 2026 season.
What you'll need (your home workshop)
Before you get your hands dirty, prepare the basic tools. If you're missing any of these, it's worth investing – it will pay for itself in saved workshop fees.
- Chemicals: Drivetrain degreaser, a good bike shampoo, chain lube (ideally a dry lube for spring/summer riding) and brake cleaner (isopropyl alcohol).
- Tools: A set of Allen and Torx keys, a pump with a pressure gauge, a chain checker. If you have a carbon bike, a torque wrench is a must.
- Accessories: Two buckets (one for soapy water, one for clean water), a soft sponge, a stiffer brush for the cassette and old clean rags (ideally old cotton T-shirts).
Step 1: a bath – the heavy dirt has to go
The basic rule of servicing is to work on a clean machine. Dust, mud and old oil hide cracks and make any adjustment harder.
- Rough wash: Rinse the bike with a gentle stream of water. Forget pressure washers. High-pressure water easily gets past the seals straight into the bottom bracket, headset or hub bearings, where it washes out the grease and starts corrosion.
- Shampooing: Using a sponge and warm water with bike shampoo, wash the frame, fork and wheels. Work from top to bottom.
- Drying: Don't just leave the bike to dry in the sun (it may leave marks). Wipe it dry with a soft microfibre cloth. At the same time you're doing a visual inspection – look for scratches, dents or cracks in the frame.
Step 2: reviving the drivetrain and chain magic
The drivetrain (chain, cassette, chainrings) is the most heavily stressed part of the bike. When it's dirty, it acts like grinding paste that literally eats away the metal teeth.
- Degreasing: Apply degreaser to the cassette (the rear sprockets) and chainrings. Leave it to work as instructed (usually 3–5 minutes) and then scrub it off with a stiff brush. For the chain, it's ideal to use a special chain cleaner that cleans it from all sides at once.
- Measuring chain stretch: Take the chain checker and place it on the links. Over time a chain doesn't literally "stretch", but its internal rollers wear, increasing the gaps. If the checker drops in at the 0.75 mark (or 0.5 on 12-speed systems), the chain needs replacing, otherwise you'll destroy the much more expensive cassette.
- Correct lubrication: Once the chain is clean and completely dry, apply one drop of lube to each roller on the inside of the chain. Pedal backwards about 10 times. Then take a dry rag and wipe all excess lube off the surface. The chain must not be greasy on the outside.
Step 3: wheels and tyres (your contact with the ground)
Over winter the rubber ages and tyre pressure drops.
- Checking the tyres: Look for micro-cracks on the sidewalls (a sign of old, hardened rubber) and check the tread. Remove any small embedded stones or thorns that haven't yet worked their way through to the tube.
- Tubeless system: This is a critical point. After six months standing, the sealant inside the tyre has almost certainly dried out and formed a rubber lump at the bottom. Unscrew the valve core and add 40–80 ml (depending on wheel size) of fresh sealant. Then spin the wheel well so the sealant gets everywhere.
- Pressure: Inflate the tyres. The right pressure depends on your weight, tyre width and terrain. Road bikes usually need 4–6 bar; mountain bikes (MTB) with tubeless tyres often work best at around 1.5–2.0 bar for better grip.
Step 4: brakes you can rely on
Safety comes first. Brakes must bite sharply and operate smoothly.
- Discs and pads: Shine a light into the brake caliper and check the thickness of the friction material on the pads. If it's less than 1 millimetre, replace them. Wipe the discs with a cloth soaked in isopropyl alcohol.
- Lever feel (hydraulic): Squeeze the brake. If the lever feels "spongy" or rubbery, or touches the handlebar before the wheel actually brakes, there are air bubbles in the system. You'll need to bleed the brakes with fresh brake fluid (mineral oil or DOT, depending on the brake manufacturer).
- Mechanical cables: If you have cable brakes, put a drop of thin oil into the housings so the cable runs smoothly without friction.
Step 5: shifting and gear precision
A derailleur that "jumps" or refuses to shift to another sprocket can ruin a whole ride.
- Checking the hanger: Look at the rear derailleur from behind. It must be perfectly in line with the cassette. If it is bent (for example from an autumn fall), you'll never adjust the shifting precisely. A bent derailleur hanger (the small aluminium part the derailleur hangs from) needs to be straightened with a special tool or replaced.
- Tuning the cable tension: Shift to the smallest sprocket. Try shifting up one gear. If the chain hesitates and won't climb onto the larger sprocket, the cable is slack – turn the barrel adjuster on the derailleur (or on the handlebar) a quarter turn anticlockwise to tension the cable. If, on the other hand, the chain rubs on the larger sprocket, the cable is too tight and needs to be loosened.
Step 6: tightening bolts and checking the suspension
The last step is making sure your bike won't fall apart on a descent.
- Bolts: Check all the important points – stem, handlebars, seat clamp and brake mounts. On carbon parts, always use a torque wrench set exactly to the value marked on the component (most often 5 or 6 Nm).
- Suspension (fork and shock): Wipe the fork stanchions with a soft cloth. You can use a special silicone spray for suspension (never WD-40!), cycle the suspension gently and wipe off the excess. Using a high-pressure shock pump, check that the pressure suits your weight (setting the so-called sag to about 20–25%).
If you've worked through this whole list, you've done everything you can for your bike. Not only will you extend the life of its components, but your first spring ride will be quiet, smooth and, above all, safe. Put on your helmet and enjoy the kilometres!
Home maintenance vs. a professional service
While anyone can manage the basic tasks with a little practice, some jobs require specific tools and a mechanic's experience.
| Task | Home maintenance | Professional service |
| Cleaning and lubricating the chain | Yes | Not necessary |
| Inflating tyres and replacing sealant | Yes | Not necessary |
| Replacing brake pads | Yes, with a little skill | Recommended for beginners |
| Bleeding the brakes | Only with experience | Definitely |
| Servicing the suspension fork and shock | Not recommended | Definitely |
| E-bike motor diagnostics | No | Definitely |
Spring bike maintenance is a ritual that gets you in the right mood for the cycling adventures ahead. Give your bike a few hours in the garage and it will repay you with reliability when you need it most. Ride safely!