Spring Electric Scooter Maintenance: 8 Steps to Wake It Up from Hibernation
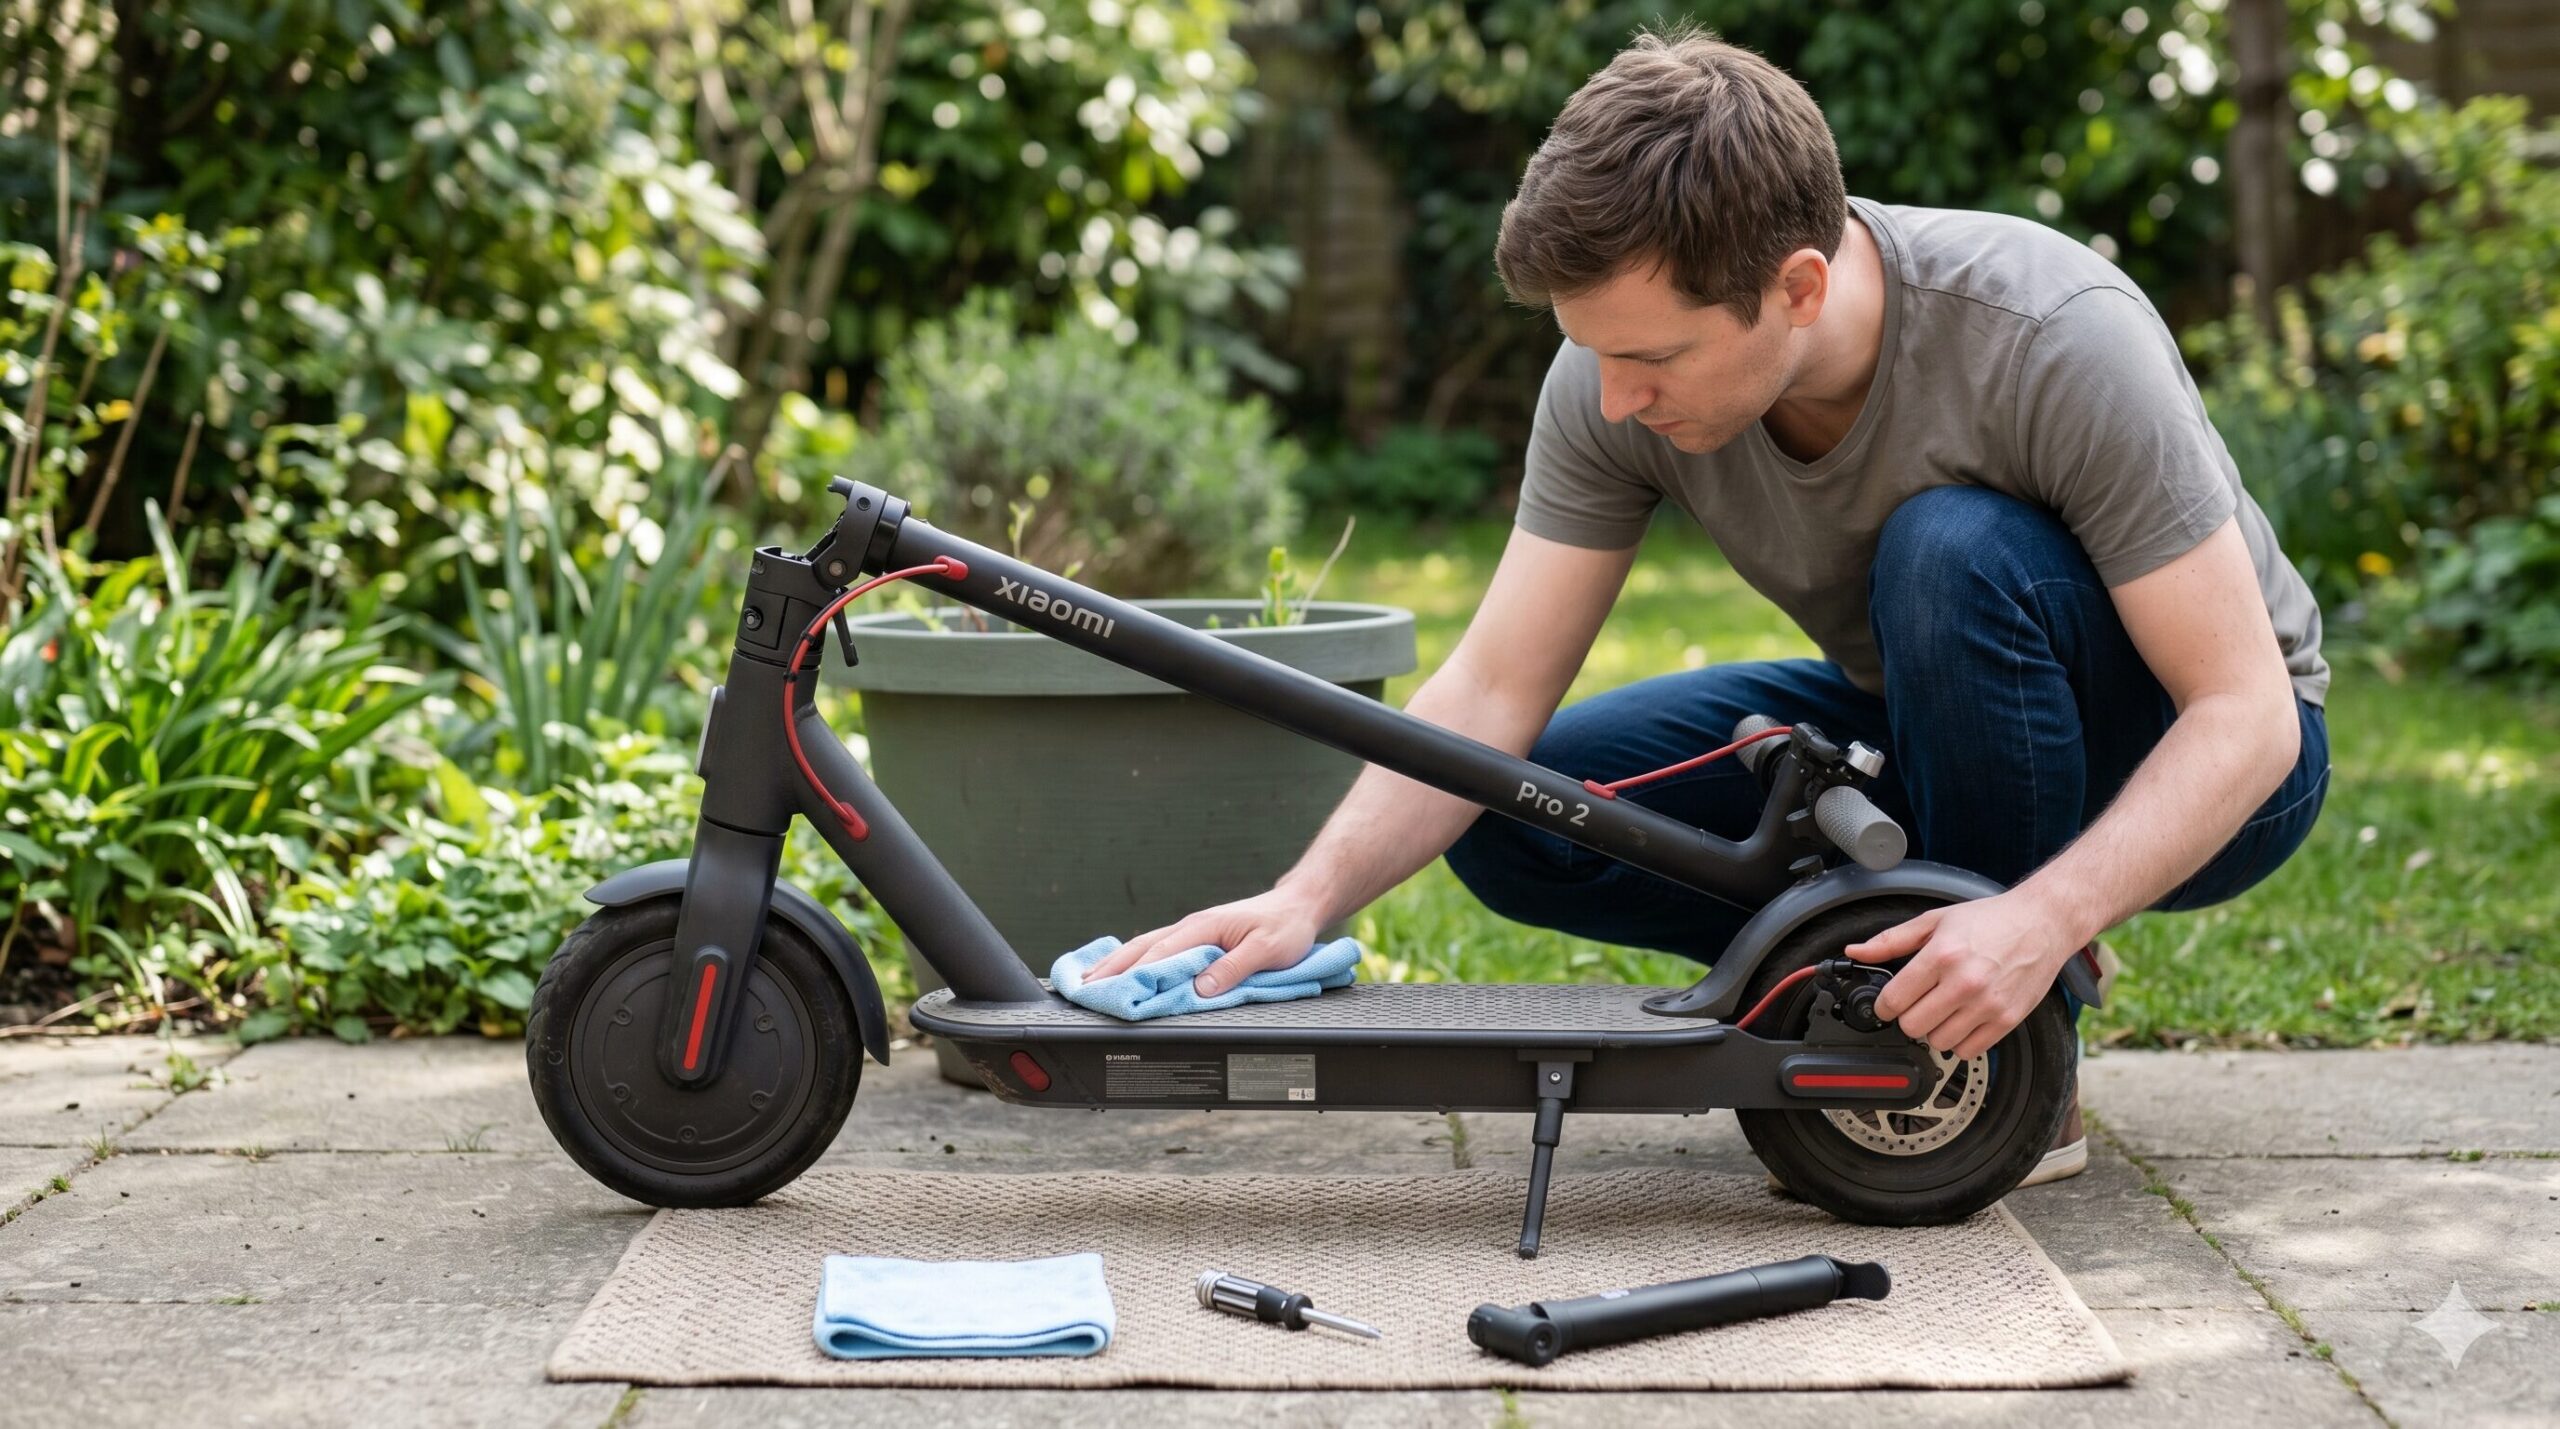
As winter was long, your scooter has probably been resting in a cellar or garage. Although it may look the same at first glance, you can't fool physics and chemistry. Dust, moisture and an idle battery significantly reduce both safety and overall range.
That's why in this bikehub.sk guide we cover everything from checking for material fatigue to making sure the lights work, so you can head into the new season one hundred per cent prepared.
1. Cleaning isn't just about looks
First of all, you need to rid the scooter of dust and dirt. You may be wondering why you need to worry about salt when you rode in autumn and not through snowdrifts. The answer is simple: preventive gritting. Because night-time temperatures were already dropping towards zero in late autumn, road crews applied the first salt to bridges and flyovers as a precaution. That salt then stays on the asphalt and in puddles, from where it quickly gets straight into your bearings.
- Tip: Never use a pressure washer. Pressurised water pushes salt residue and moisture deep into the electronics.
- The right method: Instead, take a damp cloth and a mild cleaner. Focus above all on the joints, the area around the motor and the spaces under the deck.
2. The battery: watch the volts, not the bars
After winter the battery is the most sensitive point of all. The standard indicator on the display is often misleading, because it doesn't work accurately after a long period of inactivity.
- The first ride: Do your first ride close to home and watch carefully whether the battery behaves normally.
- Important – check the volts: If you can, monitor the actual voltage (V). If, for example, the voltage drops much faster under load than last year, pay attention immediately.
- Warning signs: If the scooter cuts out at 20–30%, in the better case the cells are just unbalanced. In the worse case some cells are failing or completely dead. In that case you must seek professional diagnostics immediately, which effectively prevents the risk of fire.
3. Tyres: pressure and tread
The tyres are the only point that keeps you on the road. Neglecting them means asking for serious trouble.
- Checking the tread: If you've worn a tyre down to a so-called "slick", the wheel will slide out instantly on a wet spring road. If you see a completely smooth centre line, throw the tyre away for good and take it to a recycling centre (it doesn't belong in household waste!).
- Checking the pressure: Tyres naturally lose pressure over the winter. Riding on under-inflated tyres causes most unnecessary punctures. Most scooters require a pressure of around 45–55 PSI (approx. 3.1–3.8 bar).
- Visual check: Also look for cracks on the sidewalls and check that sealant isn't leaking from tubeless tyres.
4. Brakes: your life insurance
Brakes also need a very thorough inspection after months of standing.
- Hydraulic brakes: If you squeeze the lever and it sinks all the way to the grip, the system has probably drawn in air or lost fluid. You then need to bleed the brakes immediately and top up with the appropriate mineral oil or DOT fluid.
- Mechanical brakes: On mechanical brakes, check the cable. If it drags in the housing, lubricate it or replace it with a new one. Also check the pads and throw them away if they measure less than 1 mm.
- Cleaning: If the brakes squeal, degrease the disc and pads with a dedicated brake cleaner.
5. Visual frame check and tightening bolts
Aluminium alloys don't forgive material fatigue at all. If you ignore the condition of the structure, you're gambling with your health.
- Look for hairline cracks: Inspect the welds on the whole frame in detail. Focus especially on the steering stem (neck), the front wheel mount and the area around the folding mechanism. If you find even the smallest crack in the metal, the scooter isn't safe to ride and the frame (or part of it) must be replaced.
- Critical points and play: If the frame is sound, go over the front and rear axles, brake calipers and the folding joint with an Allen key – this is where dangerous play most often develops.
- Threadlocker: It isn't enough just to force the bolts tighter. Use medium-strength threadlocker (blue Loctite) on critical joints. If you just tighten the bolts dry, vibration will soon loosen them again.
6. Lubricating moving parts and the suspension
- Suspension: First wipe the old dust off the shock stanchions with a cloth and then lightly spray them with silicone oil so they move smoothly again.
- Bearings and joints: Use PTFE (Teflon) spray or silicone on these joints.
- Warning: Never spray classic blue WD-40 on the bearings. This popular lubricant acts as an aggressive solvent and is more likely to dry the bearings out.
7. Lights and signals: be visible
This is the point owners regularly underestimate after winter. In spring, though, the days are still short and changeable.
- Lights and flashers: Test the headlight and any additional flashers. Check in particular whether spring moisture has short-circuited the LED modules.
- Brake light: Check the brake light carefully as well. Road vibrations often break the thin cable right inside the rear mudguard.
- Indicators: If your indicators don't work, the problem is usually an oxidised contact in the handlebar switch.
- Reflectors: Finally, make sure your reflectors aren't covered by a thick layer of dirt.
8. Updating the firmware and electronics
- Official firmware: Finally, connect the scooter to its mobile app. Manufacturers often tweak the algorithms so that the motor saves battery more effectively.
- A warning for modified scooters: Be very careful with official updates if you use custom firmware (CFW). The official app will mercilessly overwrite the CFW and reinstate the speed limiter.
Conclusion
Spring maintenance isn't just a matter of looks – above all it protects your personal safety. If you notice, for example, that the battery capacity is dropping quickly, the brakes squeal, the brake light doesn't work or there is a crack in the frame, visit a service centre immediately.
Practical checklist: a 10-point spring check
To start the season safely, go through this list point by point:
- [ ] Thorough cleaning: Have you removed dust and salt residue from the chassis and joints? (Remember to use a damp cloth, not a pressure washer!)
- [ ] Visual frame check: Have you carefully inspected the steering stem and welds? Are there any hairline cracks?
- [ ] Voltage check (V): Does the battery show stable voltage in the app? Does it report a sudden drop under load?
- [ ] Tyre tread: Do the tyres still have deep enough grooves?
- [ ] Tyre pressure: Have you inflated the tyres to the ideal 45–55 PSI?
- [ ] Bleeding the brakes: Does the brake lever feel firm? (If it sinks, the hydraulics need bleeding.)
- [ ] Brake pads: Are the pads thicker than 1 mm? Have you degreased the discs?
- [ ] Tightening bolts: Have you checked the wheel axles and folding mechanism? Have you applied blue Loctite to critical joints?
- [ ] Lubrication: Have you treated the suspension and joints with silicone/PTFE spray?
- [ ] Lights and electronics: Do your headlight, brake light and indicators work without dropouts?
Have you got your scooter ready for its first spring trip yet? If during maintenance you noticed unusual battery behaviour or lights that don't work, or you simply don't feel confident bleeding the brakes yourself, get in touch with us – we're always happy to help!